CLASS/REACT
#1-3 / STS React Setting
hingu
2024. 9. 9. 16:00
👀 STS에 세팅 방식(D:\react_web에 받을거임)
- webapp 에 shop 폴더 생성함
- 해당폴더 우클릭 properties에서 경로 찾아서 cmd로 들어가세욘
- D:\springboot2\bootspring\src\main\webapp> npx create-react-app shop 바로위 상위폴더에서 받아야함
- cd shop : shop 안으로 들어가서 npm start => 3000번 , 8080번 포트 따로 놈
- 해당 폴더에 에러떠도 신경쓰지말고 STS 업데이트 끝나면 gradle refresh
- restapi.java (class) 생성 - 하단 참고
- package.jspn { }에 해당 코드 추가
"proxy" : "http://localhost:8080",
: 교차 연결
restapi.java
package kr.co.sen;
import org.springframework.web.bind.annotation.CrossOrigin;
import org.springframework.web.bind.annotation.GetMapping;
import org.springframework.web.bind.annotation.RestController;
@RestController //api 전용 controller
public class restapi {
//API 전용 Controller이므로 CrossOrigin 활용 필쑤
//(React 포트 추가 , * 로 해도 됨 - class 밖에 써도 됨)
@CrossOrigin(origins="localhost:3000", allowedHeaders = "*")
@GetMapping("/api/test")
public String test() {
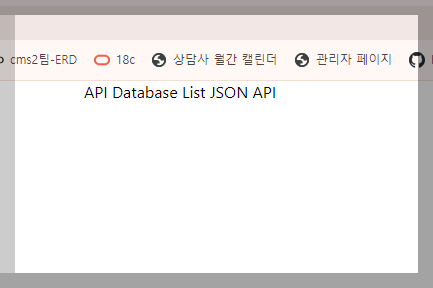
String data = "API Database List JSON API";
return data;
}
}
shop / ~ app.js
import logo from './logo.svg';
import './App.css';
import { useEffect, useState } from 'react';

function App() {
	const [test, test_text] = useState('');
	function callback(data) {
		test_text(data);
	}
	useEffect(() => {
		fetch('/api/test')
		.then(response => response.text())
		.then(message => {
			test_text(message);
		})
	})
	return (
		<div className="App">
			{test}
		</div>
	);
}

export default App;